nodejs渲染threejs
更新时间: 2024-12-03 10:20:55
昨天做到了服务端渲染canvas动画,今天我们提高一下难度使用threejs渲染出画面,然后将图片传给客户端
# 解决方案
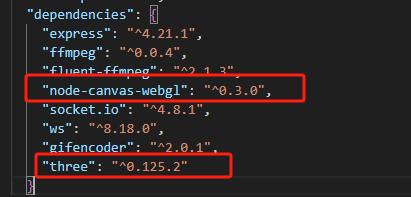
服务端使用了node-canvas-webgl,记住安装了node-canvas-webgl之后,要到node-canvas-webgl的package.json中找到对应的threejs版本,threejs版本弄错了是会报错的,之前一直报 gl.texImage3D is not a function,找了好久原因才发现是threejs版本的问题。
# 简单渲染方块
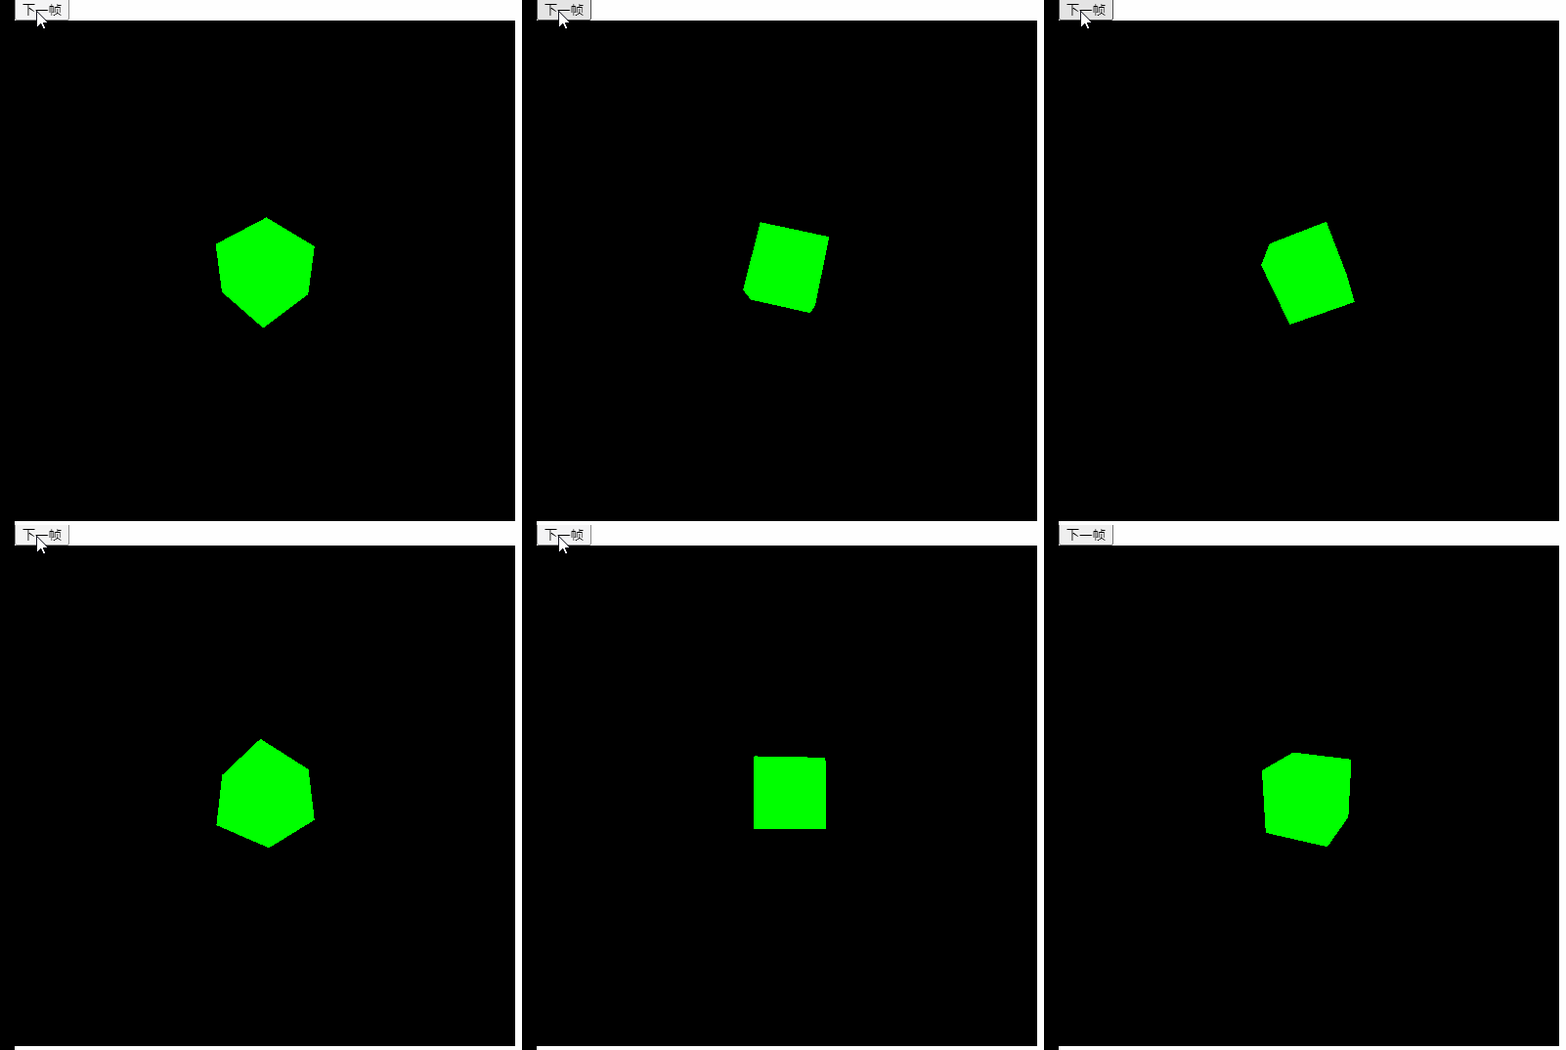
先看看效果:

再看看依赖版本,版本不能弄错,不然会报错的

- 客户端代码
<template>
  <div class="main">
    <button @click="next">下一帧</button>
    <div class="img-wrapper">
      <img :src="imageSrc" alt="">
    </div>
  </div>
</template>

<script setup>
  import {ref, onMounted} from "vue"
  import {io} from  "socket.io-client/dist/socket.io.js"
  let socket = null
  const imageSrc = ref('')

  onMounted(() => {

    socket = io("http://192.168.2.122:3000")

    socket.on('img',(data) => {
      const blob = new Blob([data])
      imageSrc.value = URL.createObjectURL(blob)
    })
  })

  function next() {
    socket.emit('next')
  }
</script>
1
2
3
4
5
6
7
8
9
10
11
12
13
14
15
16
17
18
19
20
21
22
23
24
25
26
27
28
29
2
3
4
5
6
7
8
9
10
11
12
13
14
15
16
17
18
19
20
21
22
23
24
25
26
27
28
29
客户端就是很简单的将服务端给的图片渲染到img标签里,然后点击下一帧按钮的时候向服务端发送next时间
- 服务端代码
const express = require('express')
const {createServer} = require('node:http')
const {Server} = require('socket.io')
const THREE = require('three');
const {createCanvas} = require('node-canvas-webgl/lib');

const app = express()
const server = createServer(app)
const io = new Server(server,{
    cors: {
      origin: "*"
    }
})

const width = 512,
  height = 512;

io.on('connection', (socket) => {
    const scene = new THREE.Scene();
    const camera = new THREE.PerspectiveCamera(75, width / height, 0.1, 1000);

    const canvas = createCanvas(width, height);

    const renderer = new THREE.WebGLRenderer({
    canvas,
    });

    const geometry = new THREE.BoxGeometry(1, 1, 1);
    const material = new THREE.MeshBasicMaterial({color: 0x00ff00});
    const cube = new THREE.Mesh(geometry, material);
    scene.add(cube);

    camera.position.z = 5;

    function update() {
        cube.rotation.x += 0.05;
        cube.rotation.y += 0.05;
        renderer.render(scene, camera);
        socket.emit('img', canvas.toBuffer())
    }

    update()

    socket.on('next', () => {
        update()
    })
})

server.listen(3000, () => {
    console.log('server running at http://localhost:3000')
})
1
2
3
4
5
6
7
8
9
10
11
12
13
14
15
16
17
18
19
20
21
22
23
24
25
26
27
28
29
30
31
32
33
34
35
36
37
38
39
40
41
42
43
44
45
46
47
48
49
50
51
2
3
4
5
6
7
8
9
10
11
12
13
14
15
16
17
18
19
20
21
22
23
24
25
26
27
28
29
30
31
32
33
34
35
36
37
38
39
40
41
42
43
44
45
46
47
48
49
50
51
# 渲染稍微复杂一点带有光线的场景
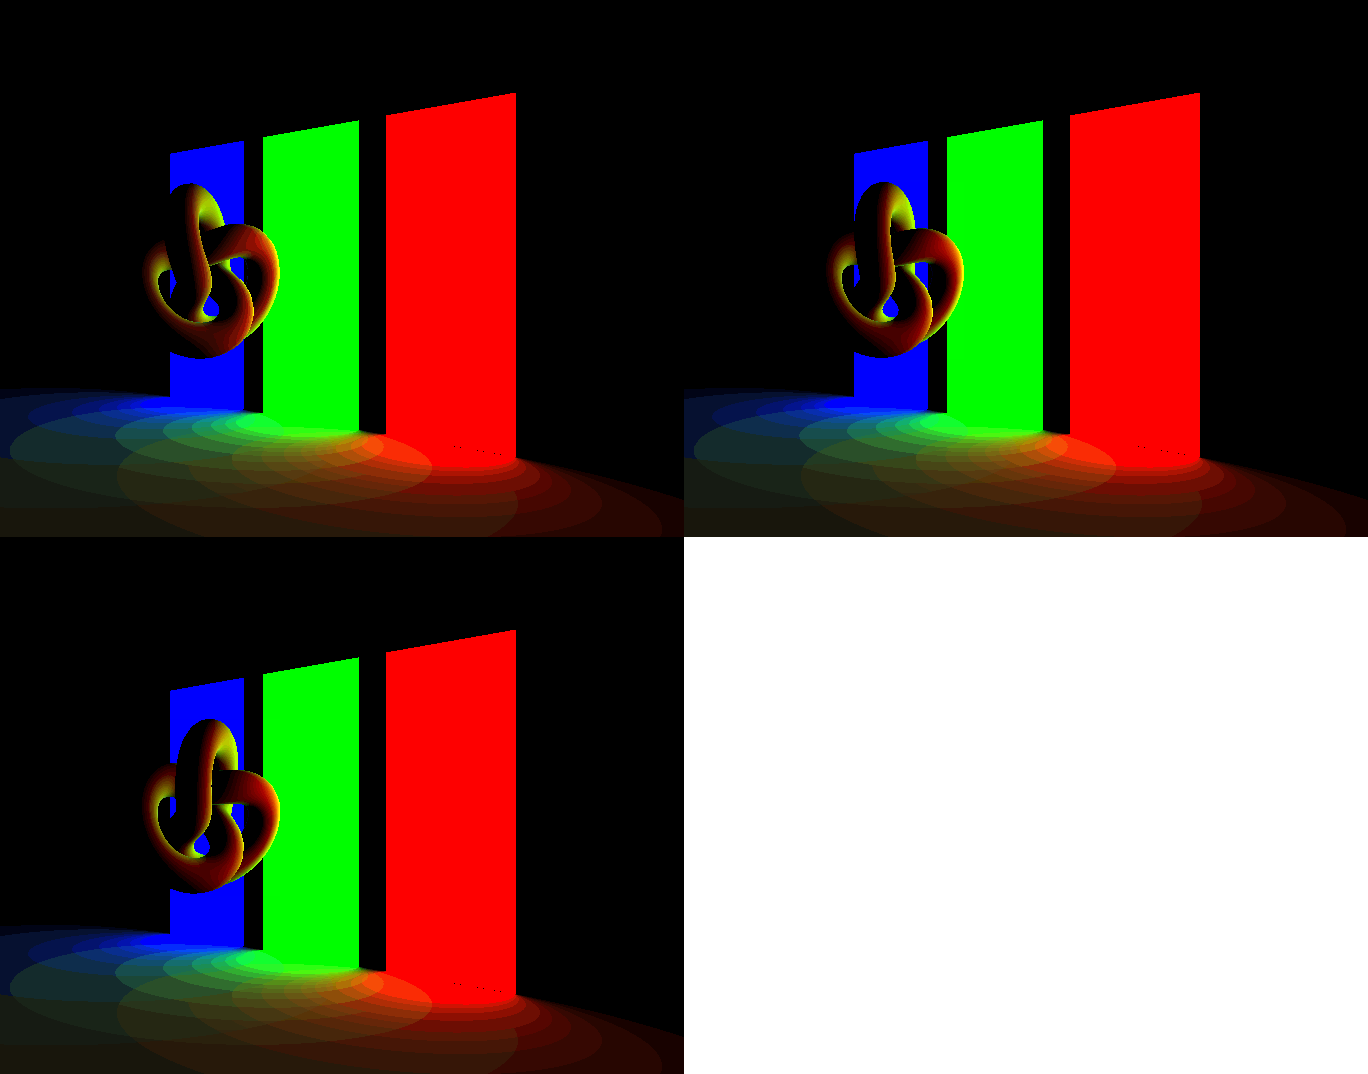
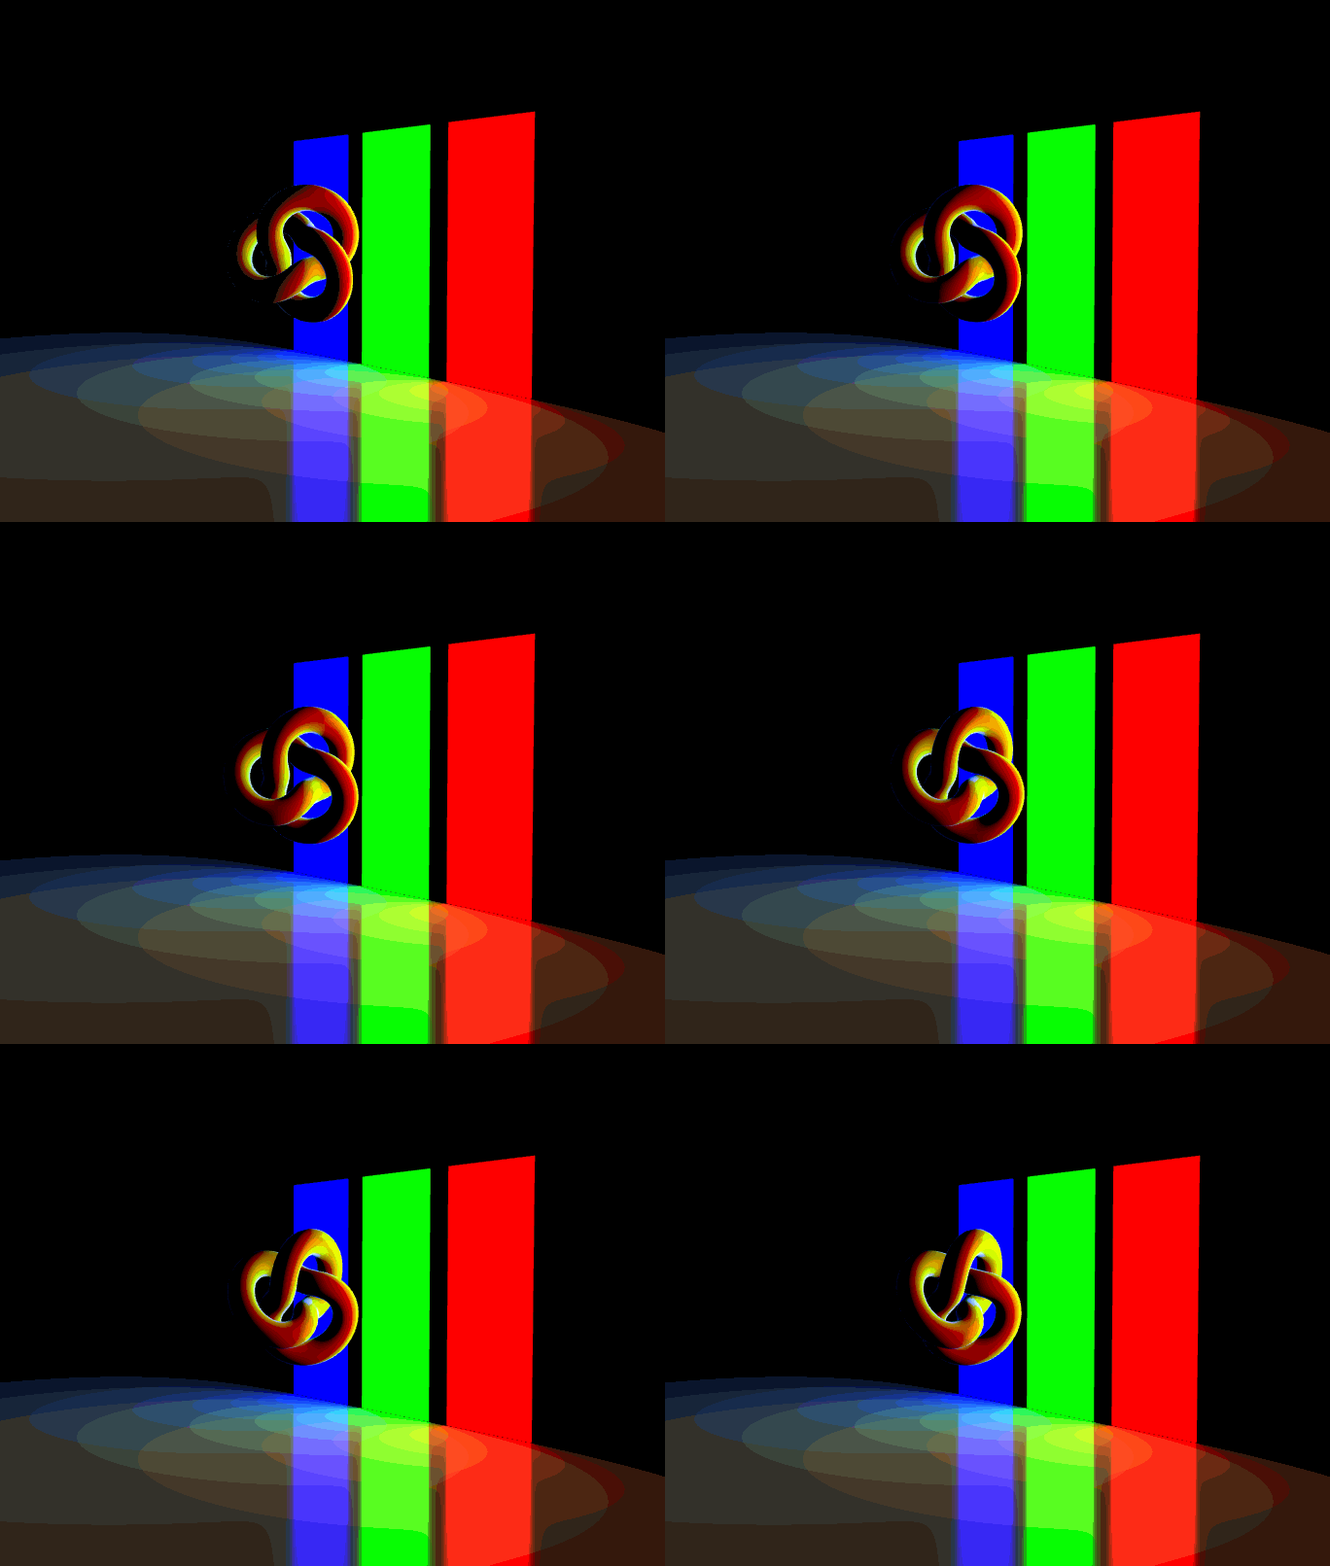
我用了一个光线比较复杂的例子,实际渲染出来发现和浏览器渲染的有一定区别,主要是没有光线反射,问过大佬之后,弄明白是因为目前使用的gl库只支持webgl1.0,反射是2.0才有的。
服务端渲染效果:

客户端渲染效果:

服务端代码:
const express = require('express')
const {createServer} = require('node:http')
const {Server} = require('socket.io')
const THREE = require('three');
const { RectAreaLightHelper }  = require('./lib/RectAreaLightHelper.js')
const { RectAreaLightUniformsLib } = require('./lib/RectAreaLightUniformsLib.js')

const {createCanvas} = require('node-canvas-webgl/lib');
require('events').EventEmitter.defaultMaxListeners = 0
const app = express()
const server = createServer(app)
const io = new Server(server,{
    cors: {
      origin: "*"
    }
})

const width = 1000,
  height = 600;

io.on('connection', (socket) => {
    const scene = new THREE.Scene();

    RectAreaLightUniformsLib.init();

    camera = new THREE.PerspectiveCamera( 45, width / height, 1, 1000 );
	camera.position.set( -15, 5, -15 );
    camera.lookAt(0, 5, 0)

    const canvas = createCanvas(width, height);

    const renderer = new THREE.WebGLRenderer({
        canvas,
        antialias: true
    });

    const rectLight1 = new THREE.RectAreaLight( 0xff0000, 5, 4, 10 );
    rectLight1.position.set( - 5, 5, 5 );
    scene.add( rectLight1 );

    const rectLight2 = new THREE.RectAreaLight( 0x00ff00, 5, 4, 10 );
    rectLight2.position.set( 0, 5, 5 );
    scene.add( rectLight2 );

    const rectLight3 = new THREE.RectAreaLight( 0x0000ff, 5, 4, 10 );
    rectLight3.position.set( 5, 5, 5 );
    scene.add( rectLight3 );

    scene.add( new RectAreaLightHelper( rectLight1 ) );
    scene.add( new RectAreaLightHelper( rectLight2 ) );
    scene.add( new RectAreaLightHelper( rectLight3 ) );

    const geoFloor = new THREE.BoxGeometry( 2000, 0.1, 2000 );
    const matStdFloor = new THREE.MeshStandardMaterial( { color: 0xbcbcbc, roughness: 0.1, metalness: 0 } );
    const mshStdFloor = new THREE.Mesh( geoFloor, matStdFloor );
    scene.add( mshStdFloor );

    const geoKnot = new THREE.TorusKnotGeometry( 1.5, 0.5, 200, 16 );
    const matKnot = new THREE.MeshStandardMaterial( { color: 0xffffff, roughness: 0, metalness: 0 } );
    meshKnot = new THREE.Mesh( geoKnot, matKnot );
    meshKnot.position.set( 0, 5, 0 );
    scene.add( meshKnot );

    function update() {
        meshKnot.rotation.x += 0.05;
        meshKnot.rotation.y += 0.05;
        renderer.render(scene, camera);
        socket.emit('img', canvas.toBuffer())
    }

    setInterval(() => {
        update()
    },16)
    update()

    socket.on('next', () => {
        update()
    })
})

server.listen(3000, () => {
    console.log('server running at http://localhost:3000')
})
1
2
3
4
5
6
7
8
9
10
11
12
13
14
15
16
17
18
19
20
21
22
23
24
25
26
27
28
29
30
31
32
33
34
35
36
37
38
39
40
41
42
43
44
45
46
47
48
49
50
51
52
53
54
55
56
57
58
59
60
61
62
63
64
65
66
67
68
69
70
71
72
73
74
75
76
77
78
79
80
81
82
83
2
3
4
5
6
7
8
9
10
11
12
13
14
15
16
17
18
19
20
21
22
23
24
25
26
27
28
29
30
31
32
33
34
35
36
37
38
39
40
41
42
43
44
45
46
47
48
49
50
51
52
53
54
55
56
57
58
59
60
61
62
63
64
65
66
67
68
69
70
71
72
73
74
75
76
77
78
79
80
81
82
83
注意到这两行引用的不是threejs库中的包:
const { RectAreaLightHelper }  = require('./lib/RectAreaLightHelper.js')
const { RectAreaLightUniformsLib } = require('./lib/RectAreaLightUniformsLib.js')
1
2
2
原因是这些包中使用的是 import,而nodejs是require,两者有冲突,我也尝试过通过配置去解决这个问题,但有的nodejs的库就是天生不支持import,因此我选择把threejs中的js复制一份出来改成CommonJS规范。

因为服务端渲染会损失一点画面的效果,对于追求渲染质量的项目可以放弃服务端渲染了。
接下来加载大模型测试一下性能。
